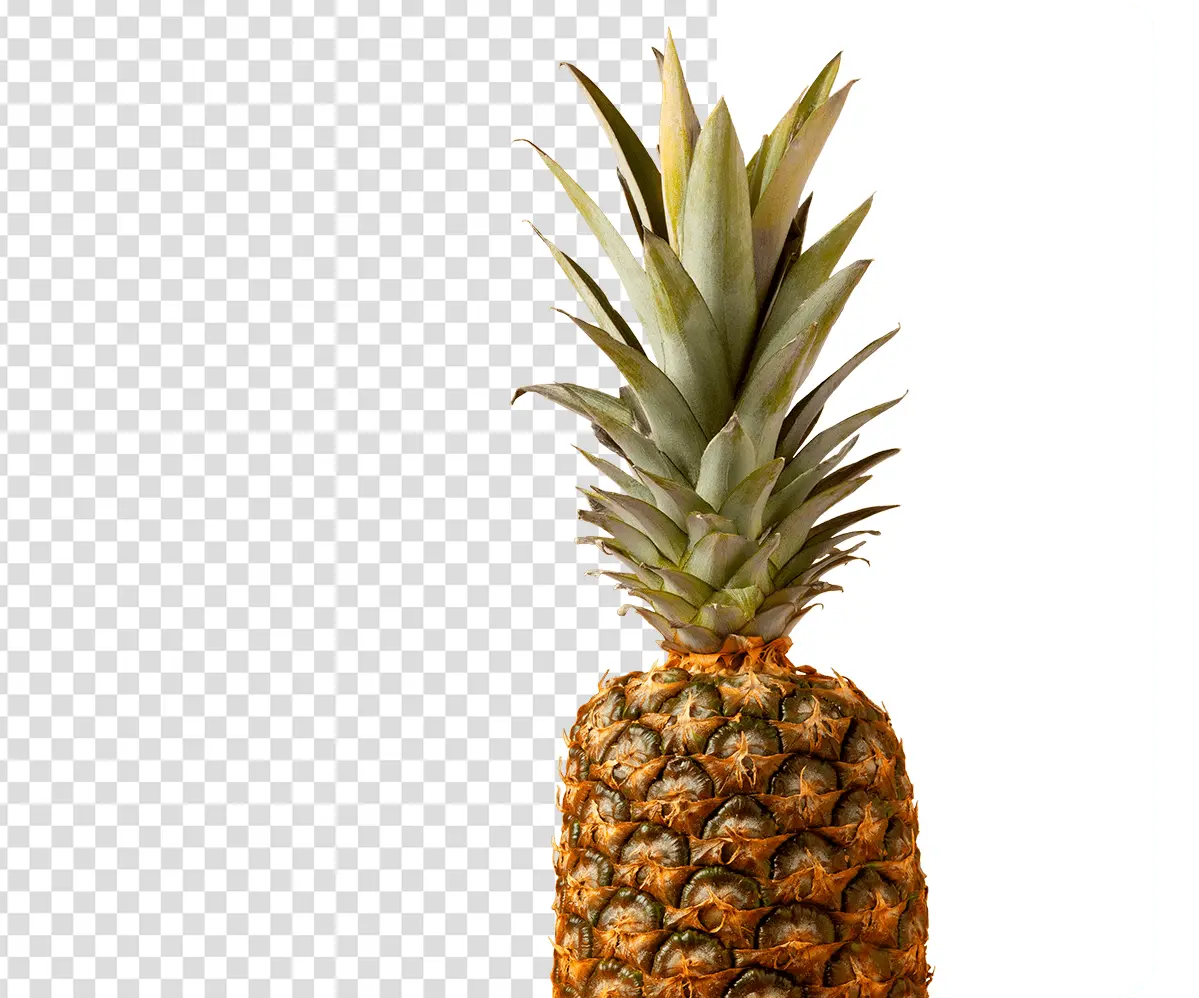
How to Create a Clipping Path in Photoshop
Product photography is vital for online retailers, as many customers rely on images when making purchasing decisions. Inaccurate photos can lead to returns and customer dissatisfaction, making quality and precision essential.
To enhance product images, mastering Photoshop basics is crucial, starting with creating a clipping path and clipping mask. This foundational skill allows for effective editing, including background remove, shadow creation, color adjustments, and photo retouching. A well-executed clipping path significantly impacts the overall quality of the final image.
What is a clipping path in Photoshop
A clipping path in Photoshop is a vector-based outline used to precisely define the edges of an object, effectively isolating it from the surrounding image. This technique, often referred to as deep etching, aims to separate specific elements within an image for further manipulation.
To create a clipping path, designers typically use the Pen Tool, which enables them to place anchor points along the object’s perimeter. These strategically positioned points form a continuous path that serves as a precise mask. As a result, the isolated object can be edited independently, allowing for greater control in image editing.
How to Create a Clipping Path in Photoshop
Creating a clipping path in Photoshop isn’t too difficult when you learn how to use the Pen Tool. Let’s break it down into simple steps:
1. Open the File
Launch Adobe Photoshop on your computer.
Open the image file that you want to work on by selecting “File” in the top menu, then choosing “Open” and navigating to the file location.
Click on the image file and click “Open.“
2. Select the Pen Tool
Once your image is open, locate the toolbar on the left-hand side of the Photoshop interface.
In the toolbar, you will find various selection tools. Select the “Pen Tool” by clicking on its icon. It looks like a pen nib.
3. Zoom In for Precision
Before you start creating your path, it’s essential to zoom in on the image to get a clear view of the object’s edges. You can do this by pressing “Ctrl” (or “Cmd” on Mac) and the “+” key or by using the zoom tool in the toolbar.
Aim to zoom in to around 300% or more, depending on your image’s size and your preference for accuracy.
4. Create Anchor Points
Begin marking the edges of the object you want to cut out with precision. Click at various points along the object’s edge to create what are called “Anchor Points.“
Ensure that you mark these points as accurately as possible. When separating one object from another, pay close attention to the object’s contours for a natural look.
Continue creating Anchor Points until you complete the path, and you reach the starting point again.
Tip: Zoom in and take your time when marking anchor points for precise object cutouts to ensure a natural look.
5. Creating Multiple Paths
If your image contains separate areas that need to be selected independently, such as an object with a hole in it, you’ll need to create additional paths for those areas.
Use the same Pen Tool process to create these inner paths.
,
6. Save the Path
Once you’ve completed marking all the necessary edges and inner paths, go to the “Layers” panel. You can usually find this on the right side of the Photoshop interface.
Within the “Layers” panel, select the “Paths” tab.
In the top-left corner of the screen, you’ll find a menu. From that menu, choose “Save Path.“
A dialog box will appear. Name your path; you can use a descriptive name like “Path 1.“
7. Adjust Clipping Path Options
To fine-tune your selection, you can apply a Clipping Path by going to the same menu where you saved the path, and select “Clipping Path.“
A dialog box will appear, allowing you to adjust settings like “Flatness.” Flatness determines the smoothness of the image’s edges.
Increasing the Flatness value will make the edge appear blurrier, while decreasing it will make the edge sharper and smoother. Adjust this value according to your preferences and image requirements.
8. Save Your Image
Once you are satisfied with your selection and path adjustments, it’s time to save your edited image.
Save both a PSD file (which preserves the layers and paths for future editing) and a JPEG file (for easy sharing and use) by selecting “File” in the top menu, then choosing “Save As” and selecting your preferred file formats.
Congratulations! You’ve successfully created a detailed clipping path using the Pen Tool in Adobe Photoshop, allowing you to make precise selections and edits in your image.
Tip: Organize your project files by creating a dedicated folder to save both your PSD (for editing) and JPEG (for sharing) files. This keeps your work neat and easily accessible.
How to Remove Background
Once you’ve saved the photo, you can edit it as needed.
For instance, you can change the background. After creating a clipping path, right-click, select ‘make selection,‘ and then add a layer mask to remove the background.
When to Use a Clipping Path
Clipping paths are useful in various scenarios. In product photography, they help remove backgrounds, allowing products to shine against clean, consistent backdrops for e-commerce. For image manipulation, clipping paths enable the isolation and editing of specific elements, such as changing colors or adjusting brightness.
In print and publishing, clipping paths control how images interact with text and design elements in magazines and brochures. They are also essential for image compositing, allowing the blending of multiple images into collages or montages. Additionally, clipping paths facilitate background replacement in portrait photography and enable selective image display in web design and interactive applications. Finally, they can be used to create custom shapes for icons, logos, or decorative elements.
How to Turn a Path into a Selection in Photoshop
Converting a path into a selection in Photoshop is a simple process. Just press Ctrl + Enter (Windows) or Cmd + Return (Mac). Photoshop will automatically transform the path into a selection, allowing you to work with the isolated area easily.
How to Create Multiple Paths in Photoshop
To combine multiple paths in Adobe Photoshop CC, start by selecting a path from the path palette. Next, click on another path in the palette to paste the first path into it. This action will merge the two paths into one. You can continue this process until all desired paths are combined.
Clipping Path Services at cliput.com
Need precise clipping paths? cliput.com has you covered. Our expert team offers top-notch photo editing with:
- Detail-oriented professionals
- Cutting-edge tools
- Budget-friendly rates and discounts
- 24/7 support
Try us with a free trial! Contact cliput.com today.